Appearance
MGX
Features
This is the simplest tutorial for you to quickly get started after logging into the MGX platform. We will guide you through configuring the large model key and creating your first demo.
Watch this video to quickly experience the capabilities of MGX:
After logging into MGX, the homepage will guide you through effortlessly starting a project.

We offer scenario examples to help you quickly get started with development.
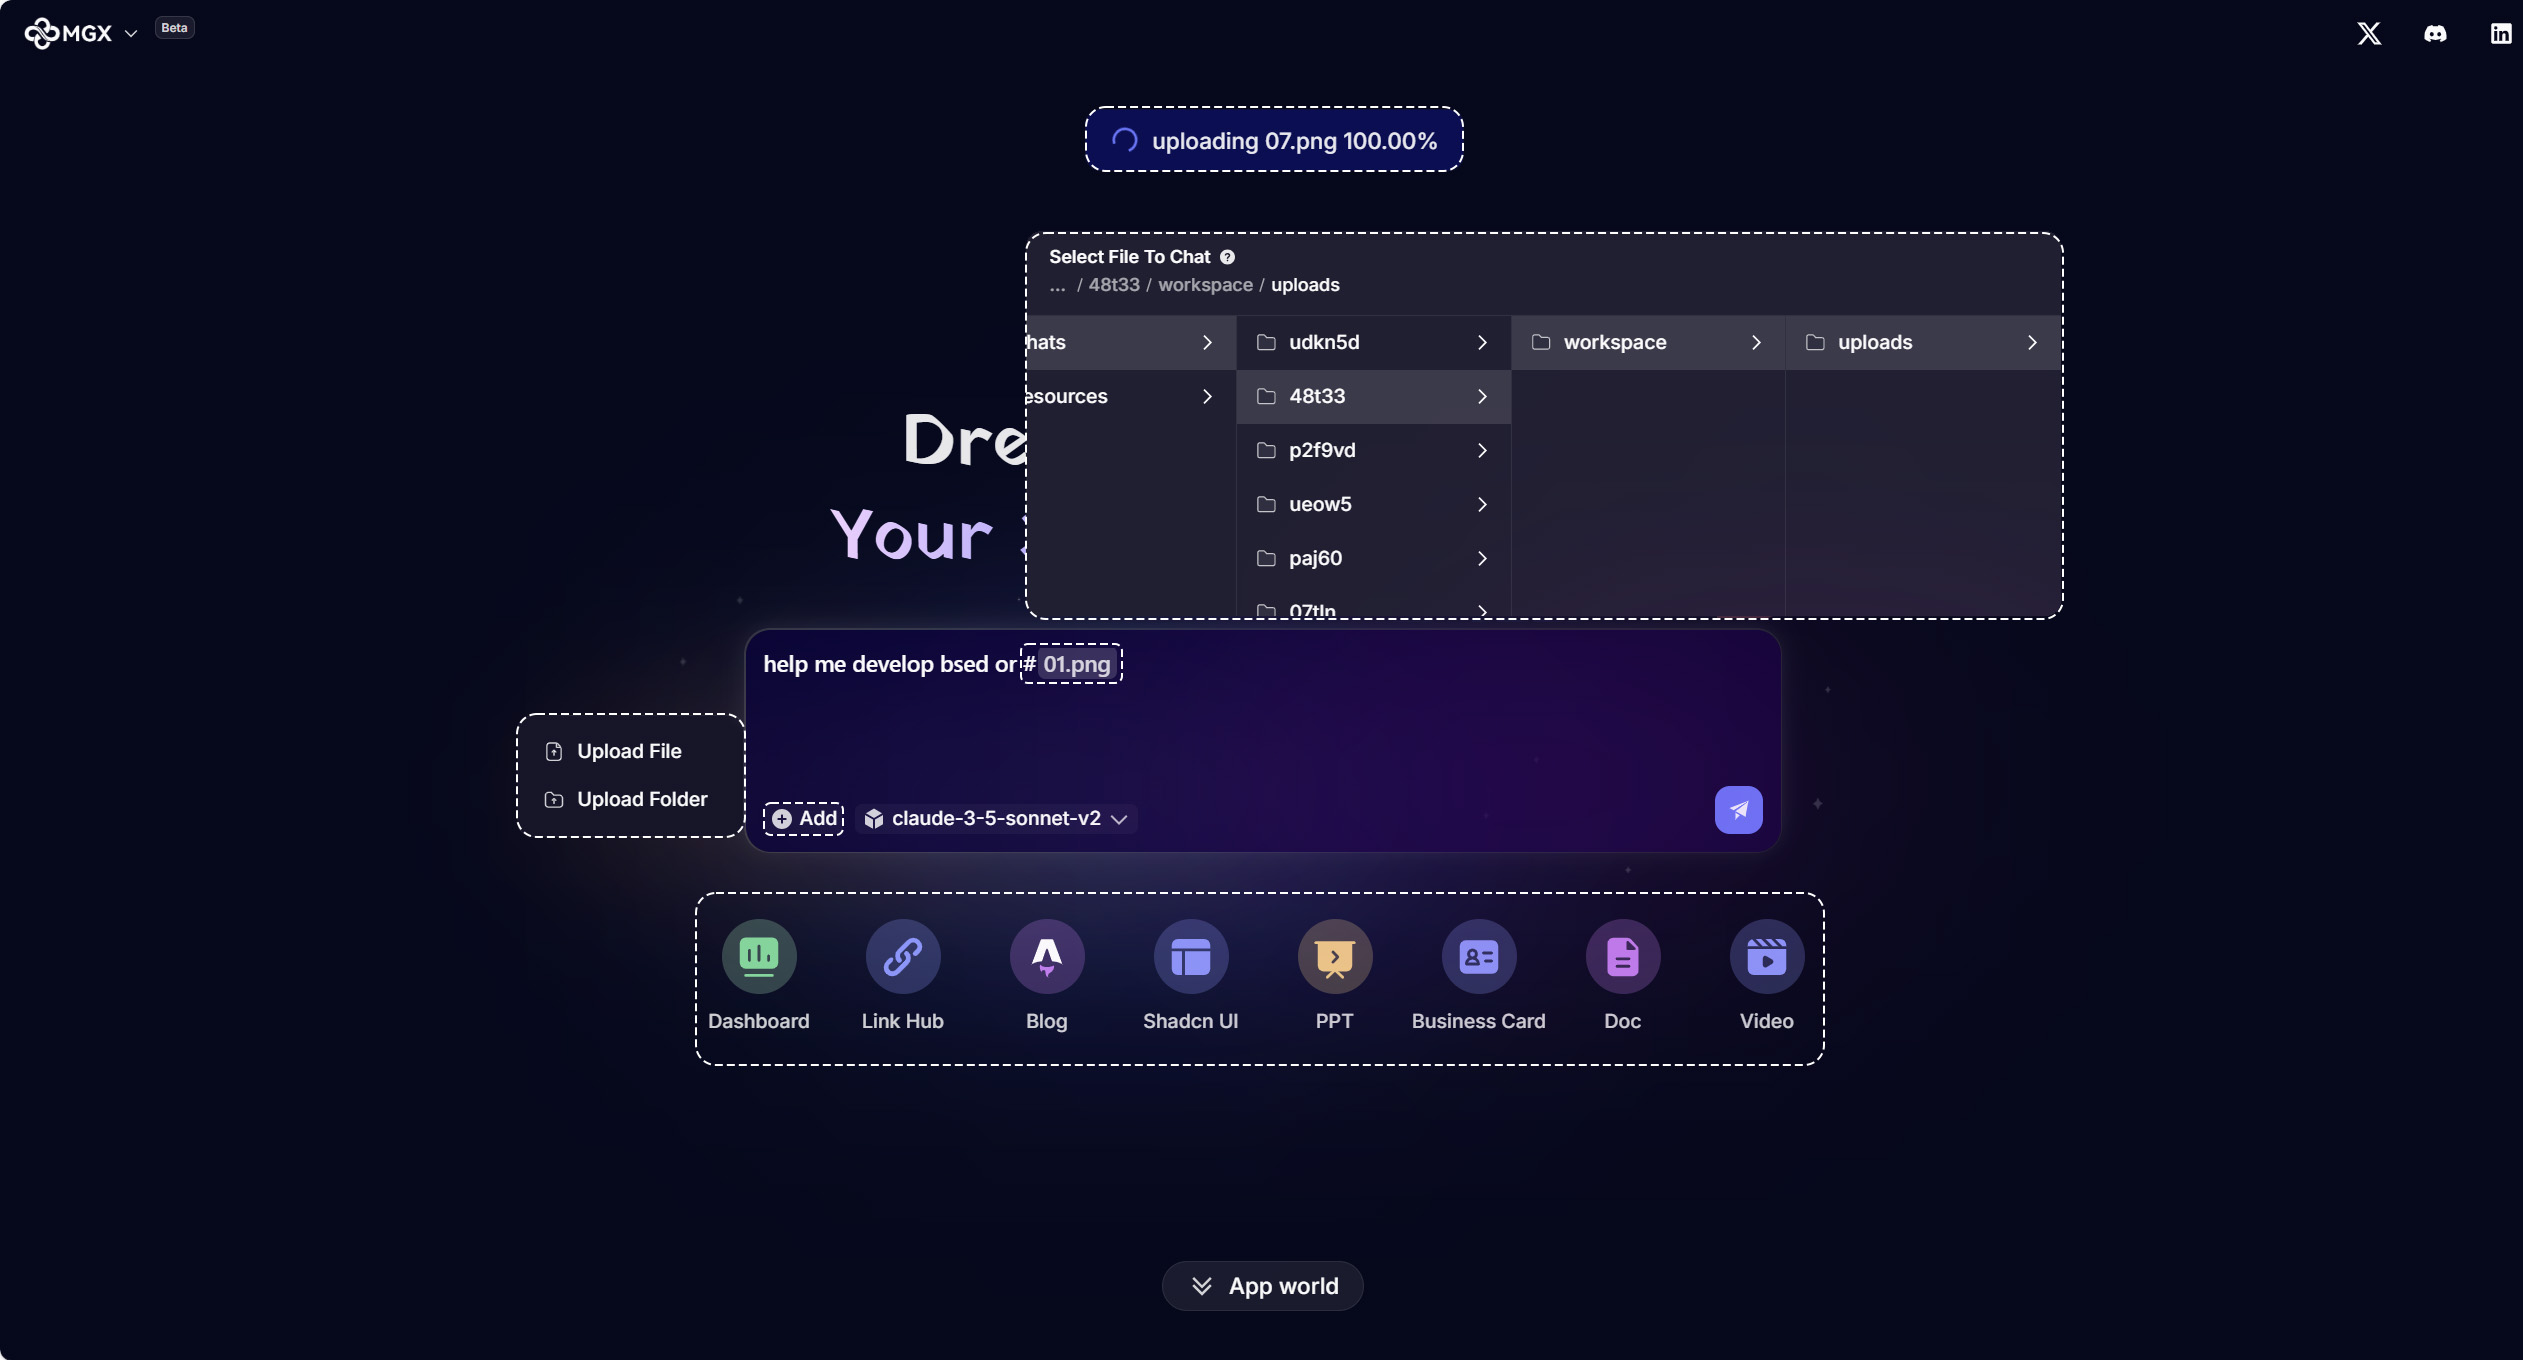
If you want to begin working on specific development requirements, focus on the input box.You can freely enter text to describe your requirements and then lick the send button to run.
+Add button at the bottom left of the input box to upload a file or folder.# FileName.# and select files in the list by arrow keys.#ImageName.ctrl+V keyboard shortcut. If your keyboard shortcuts are not working, you can right-click with your mouse to complete the image upload.Note: There are no restrictions on the number or type of files and images you can upload. However, each file must not exceed 100MB in size.
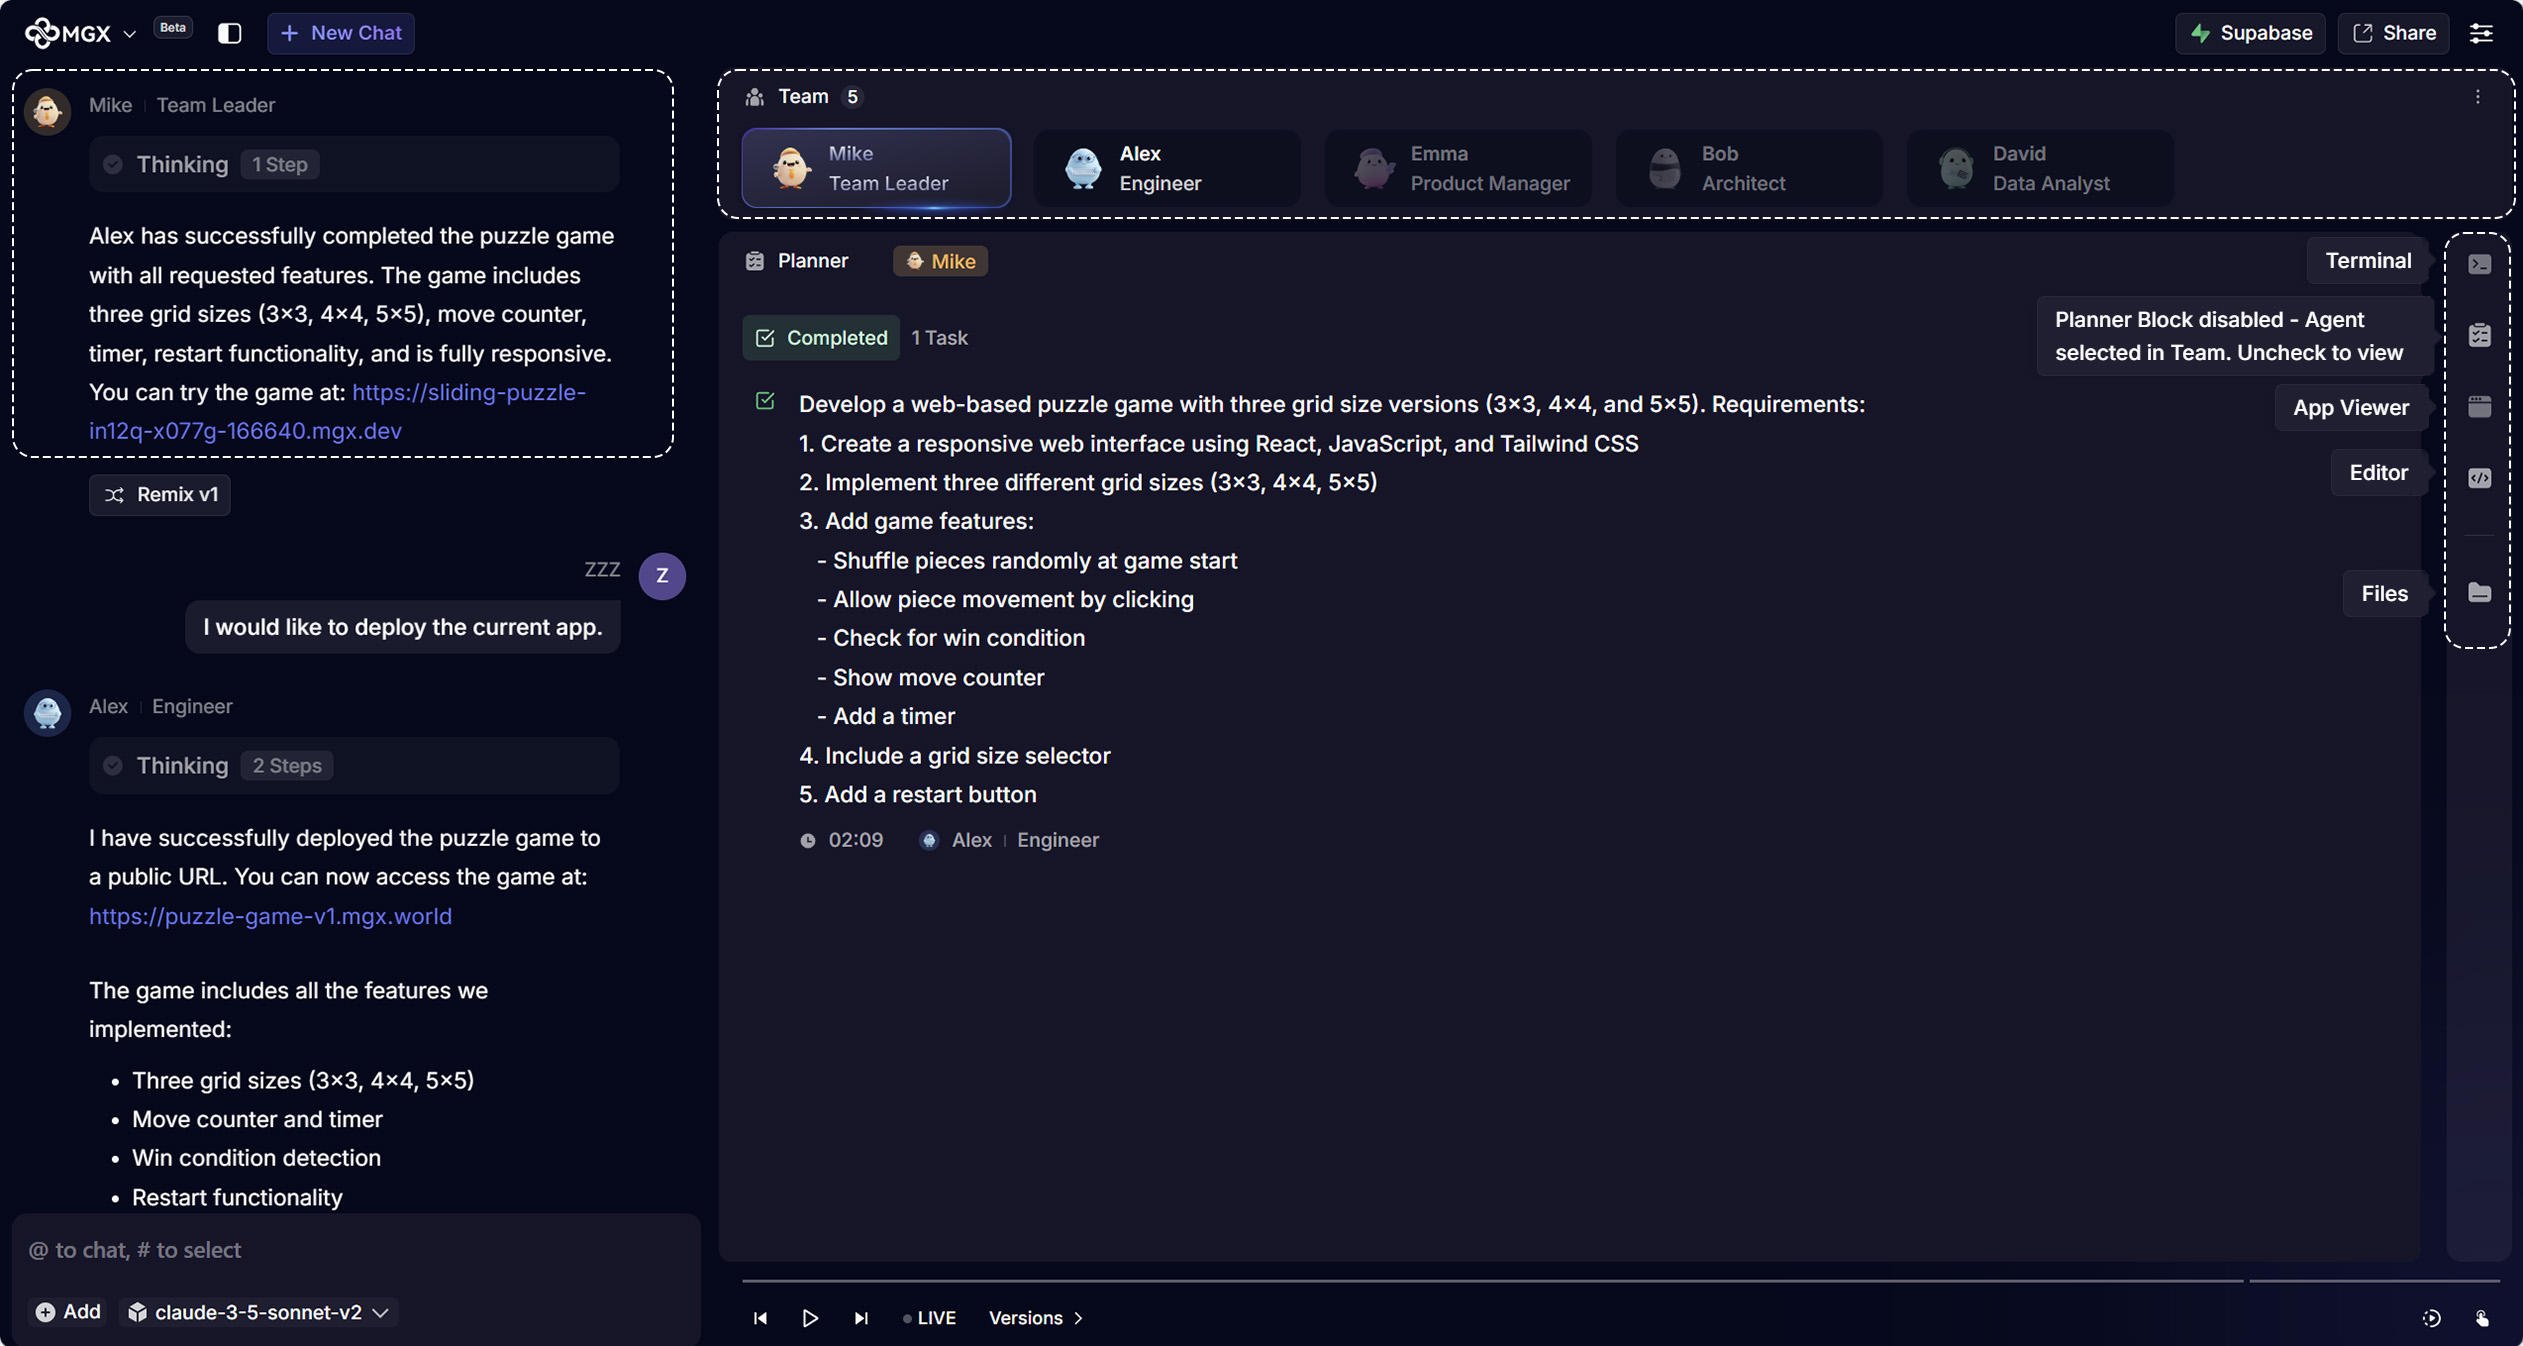
After you enter your requirements, MGX will start responding to them. At this stage, Mike (the Team Leader) will guide you through all the stages you will go through, along with explaining the Blocks area on the right side.

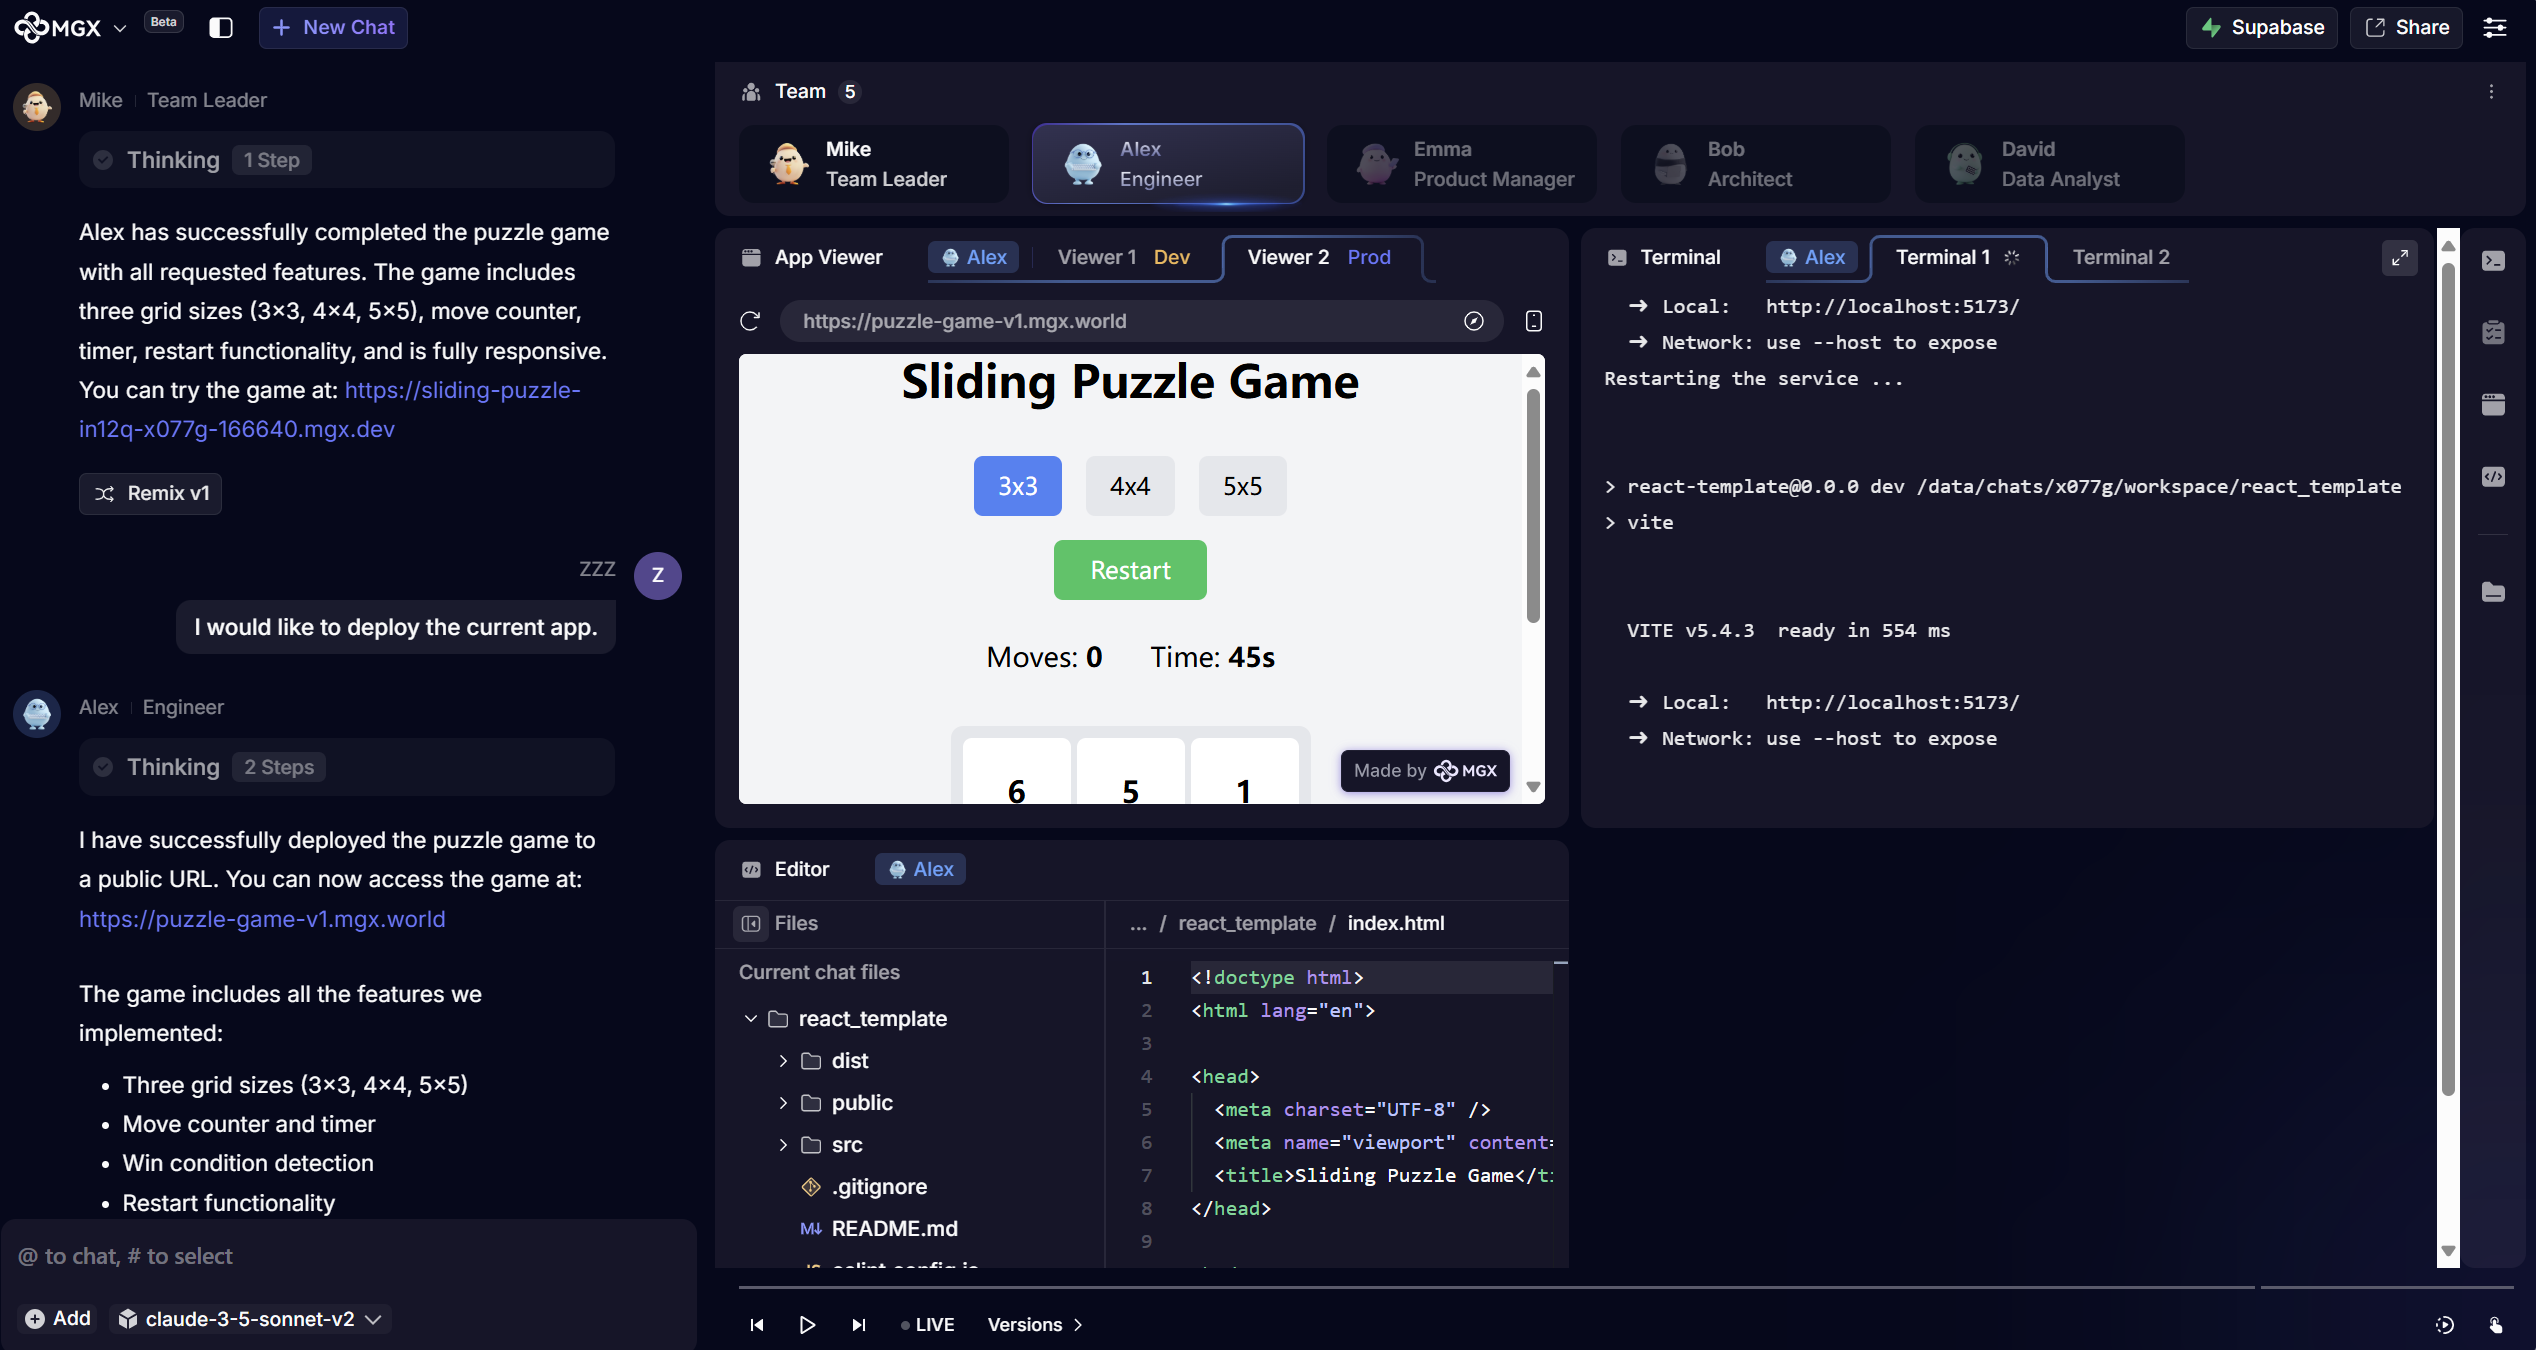
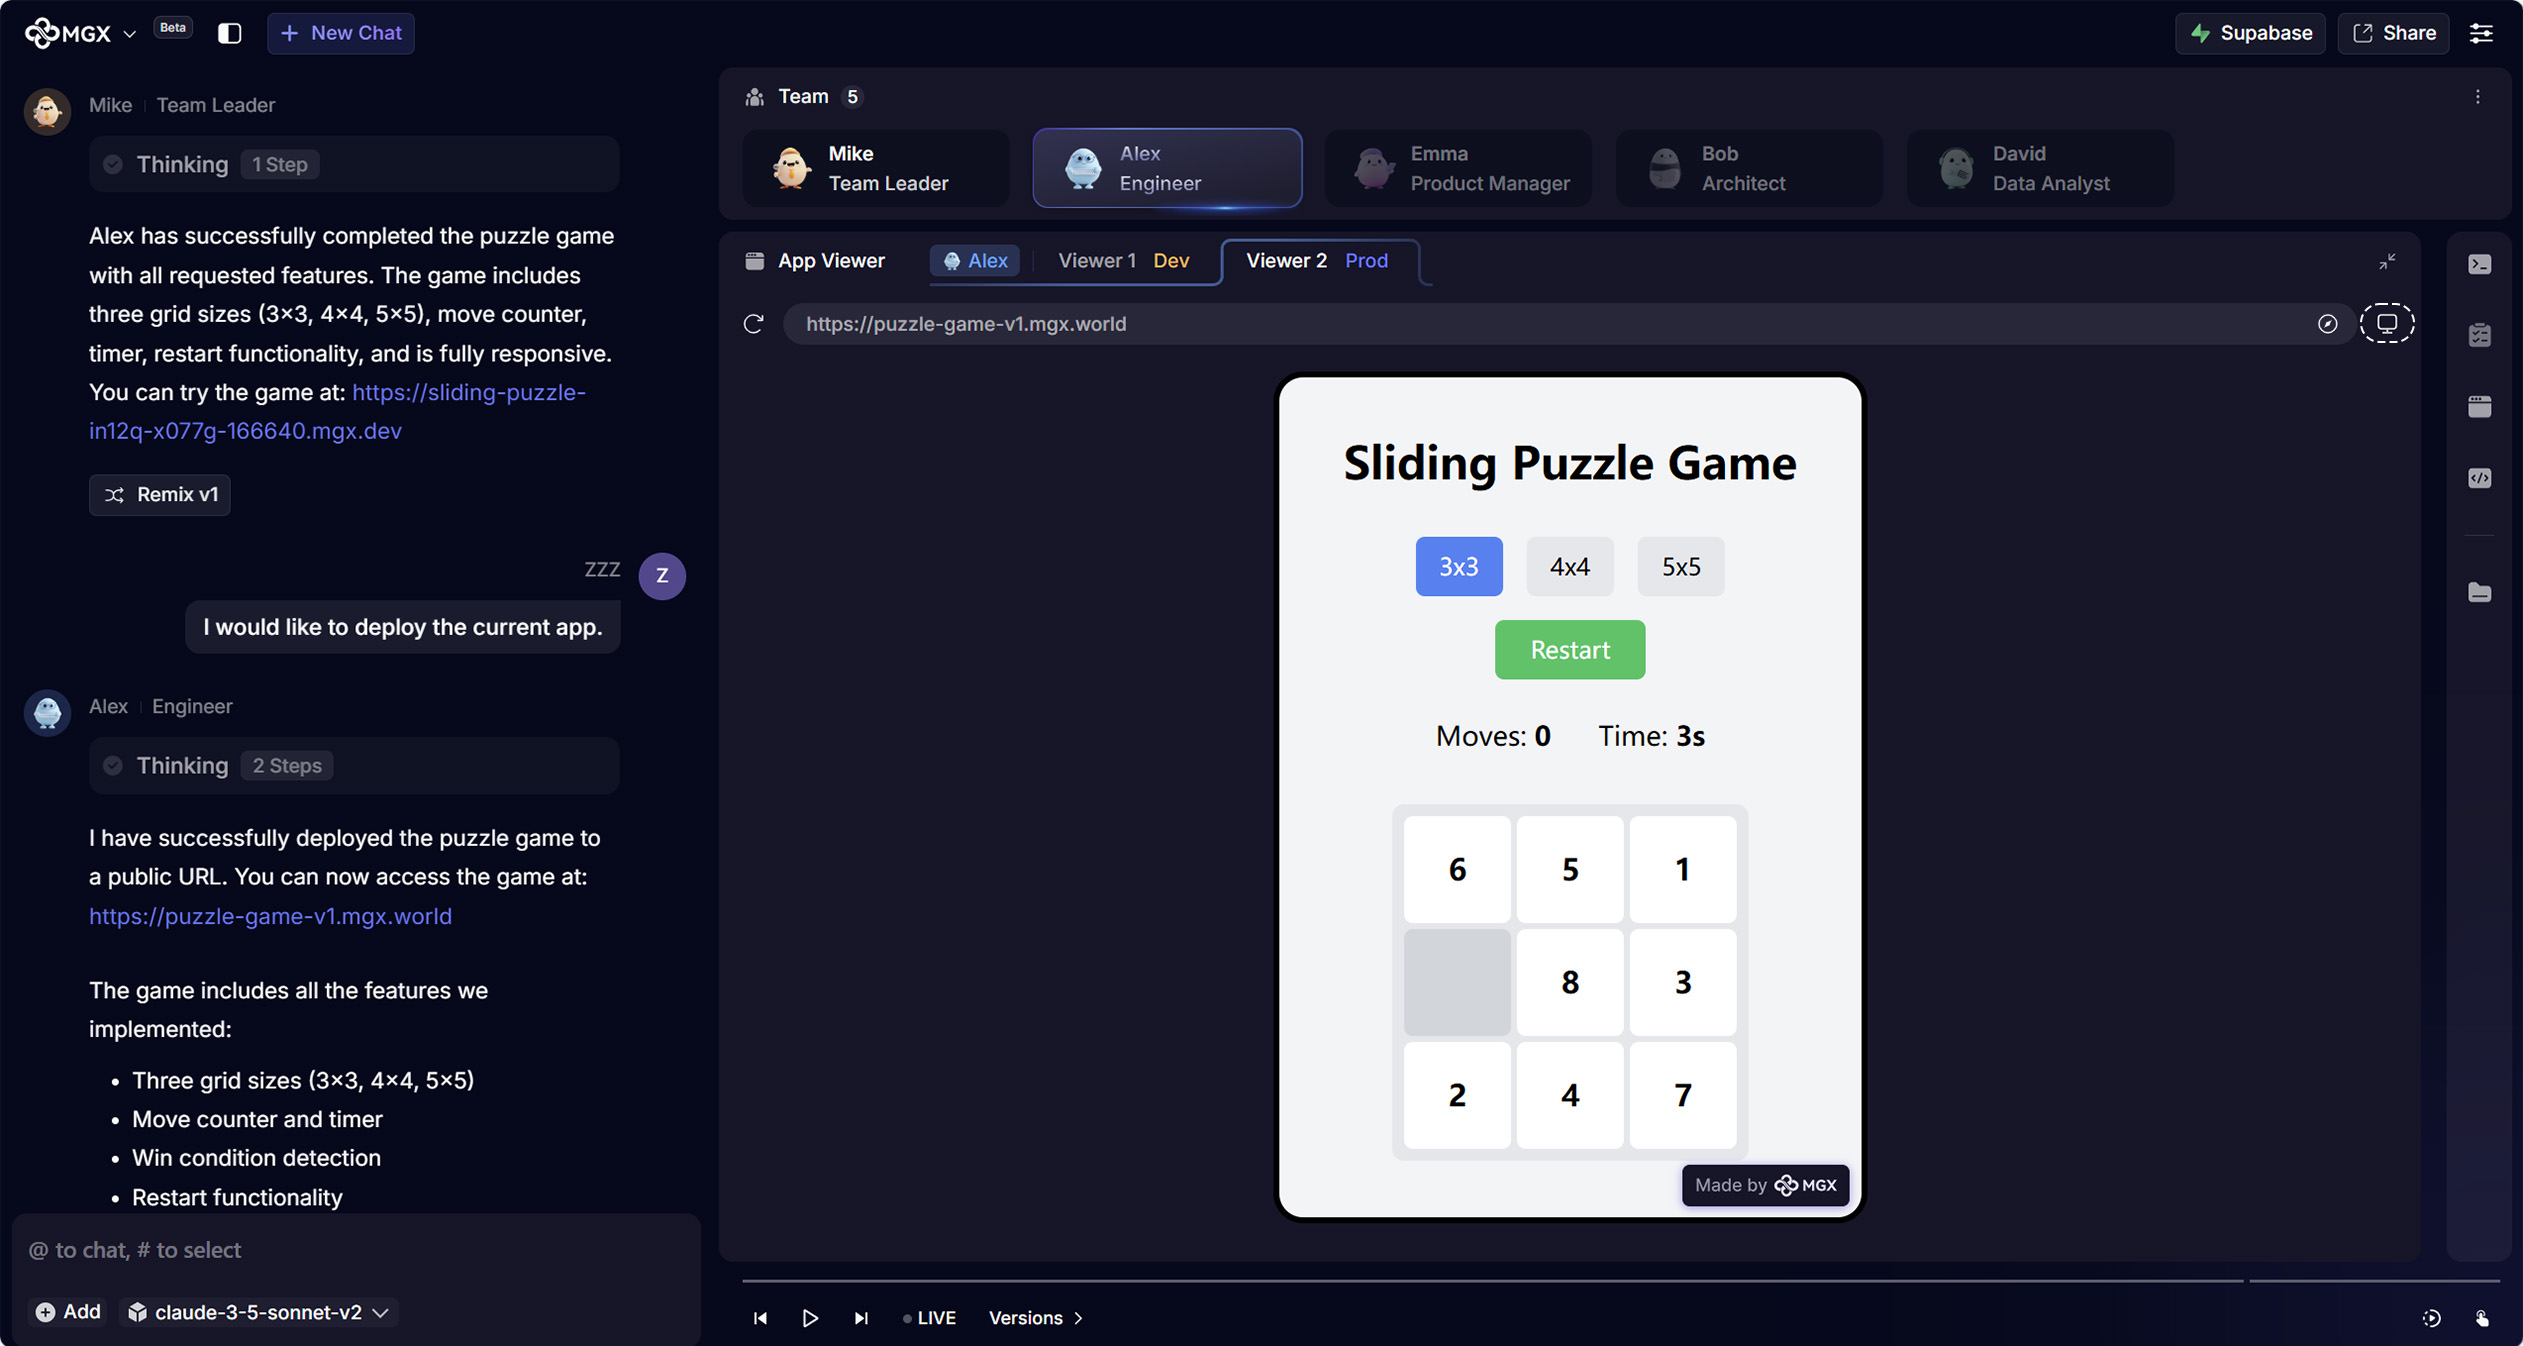
Once all tasks are completed, you can review and accept the results through the content displayed in the Blocks on the right side.