Appearance
MGX
MGX now supports quick configuration of Stripe payments via Supabase Edge Functions.
Before integrating Stripe, ensure you have:
A working MGX application
The MGX project is already connected to a Supabase Project. Learn more about Supabasae
Created products and corresponding prices in your Stripe dashboard
Note: Preview mode cannot be used to test payment functionality. Deploy your MGX app and switch Stripe to Test Mode to verify integration.
Test card: 4242 4242 4242 4242
Any future expiry date and any three-digit CVC will work.
Click the Supabase button in the top-right of MGX
Follow the Supabase Connect instructions to select your target Supabase Project
Once connected, you can configure payment settings via Supabase
After submitting, MGX Agent will generate configuration buttons. You will need to fill in at least two fields.
Add Stripe Secret Key Button 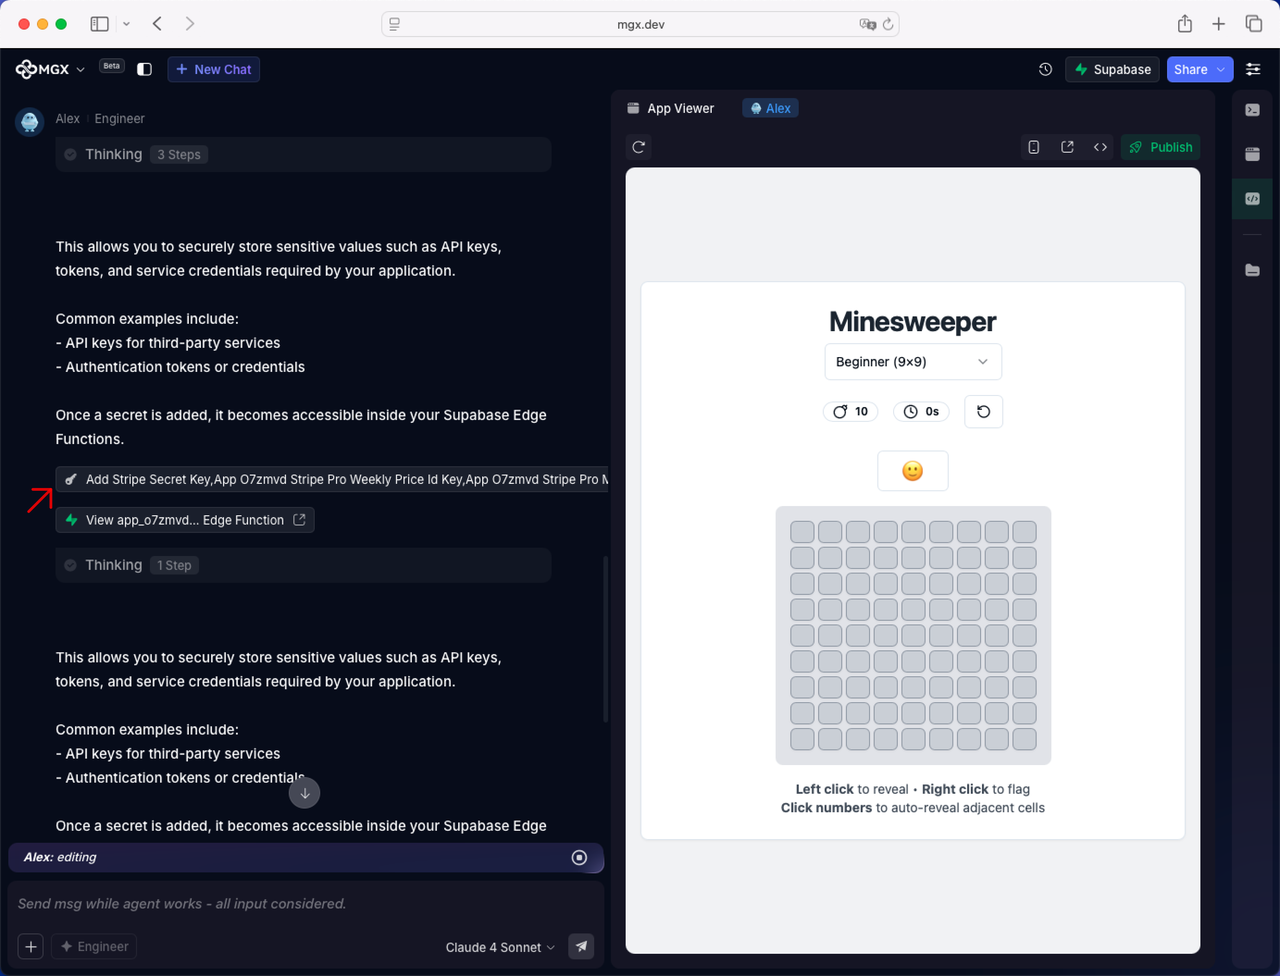
Enter your Stripe secret key under the STRIPE_SECRET_KEY field
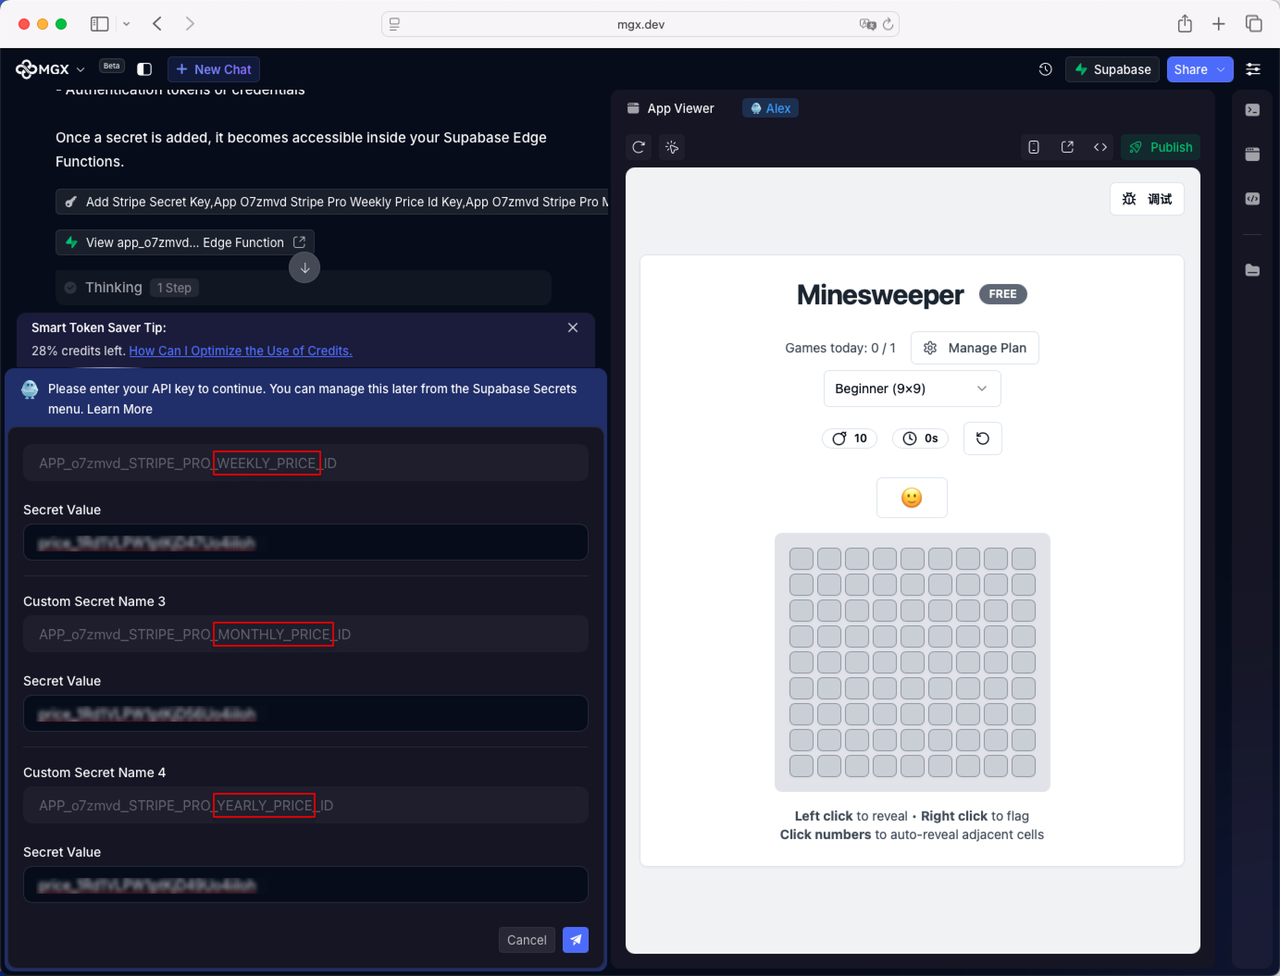
For each plan, enter its corresponding Stripe Price ID in the field ending with PRICE_ID. 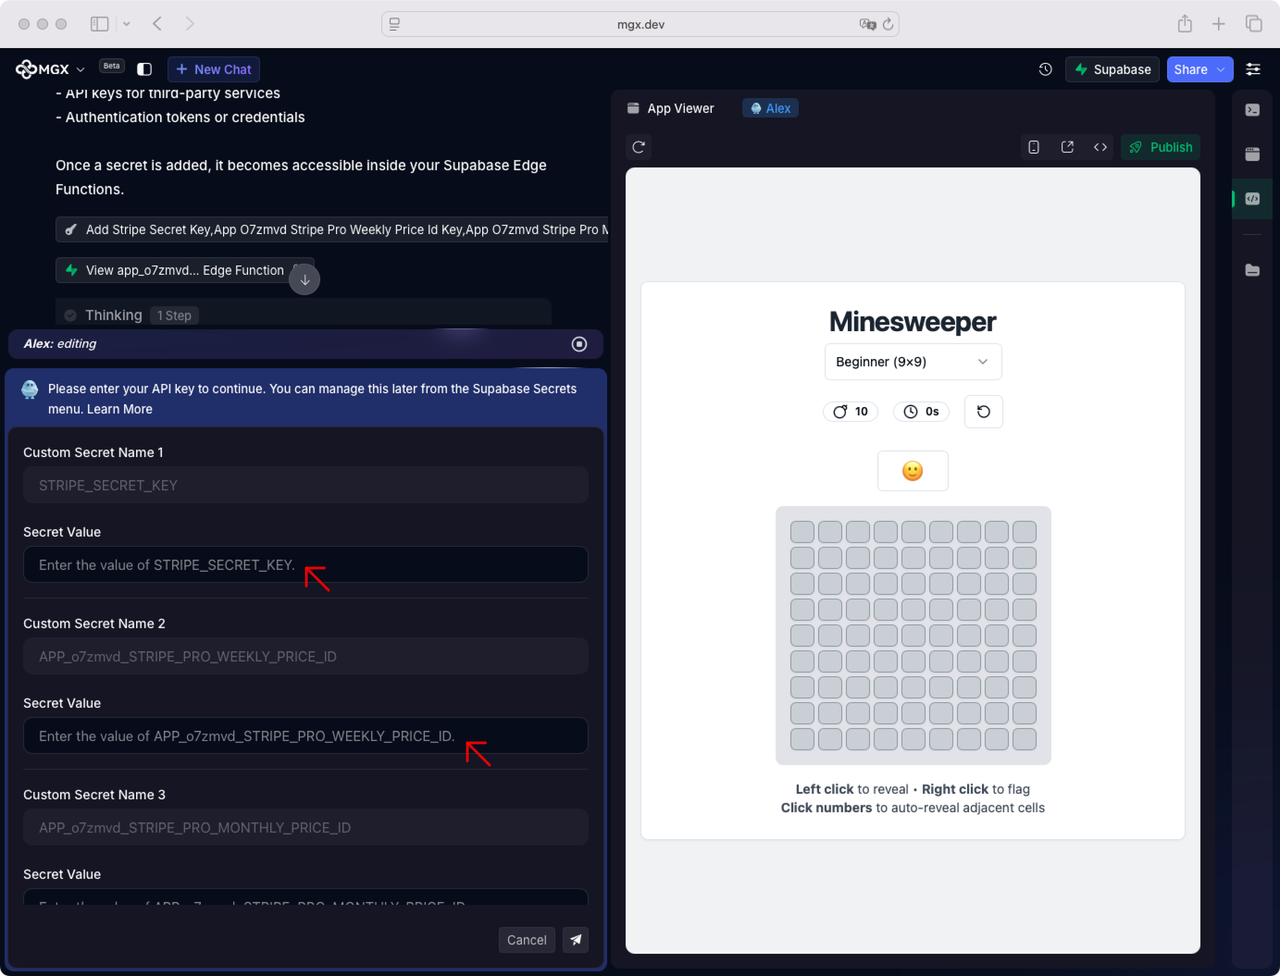
You can retrieve your Stripe secret key here: https://dashboard.stripe.com/test/apikeys
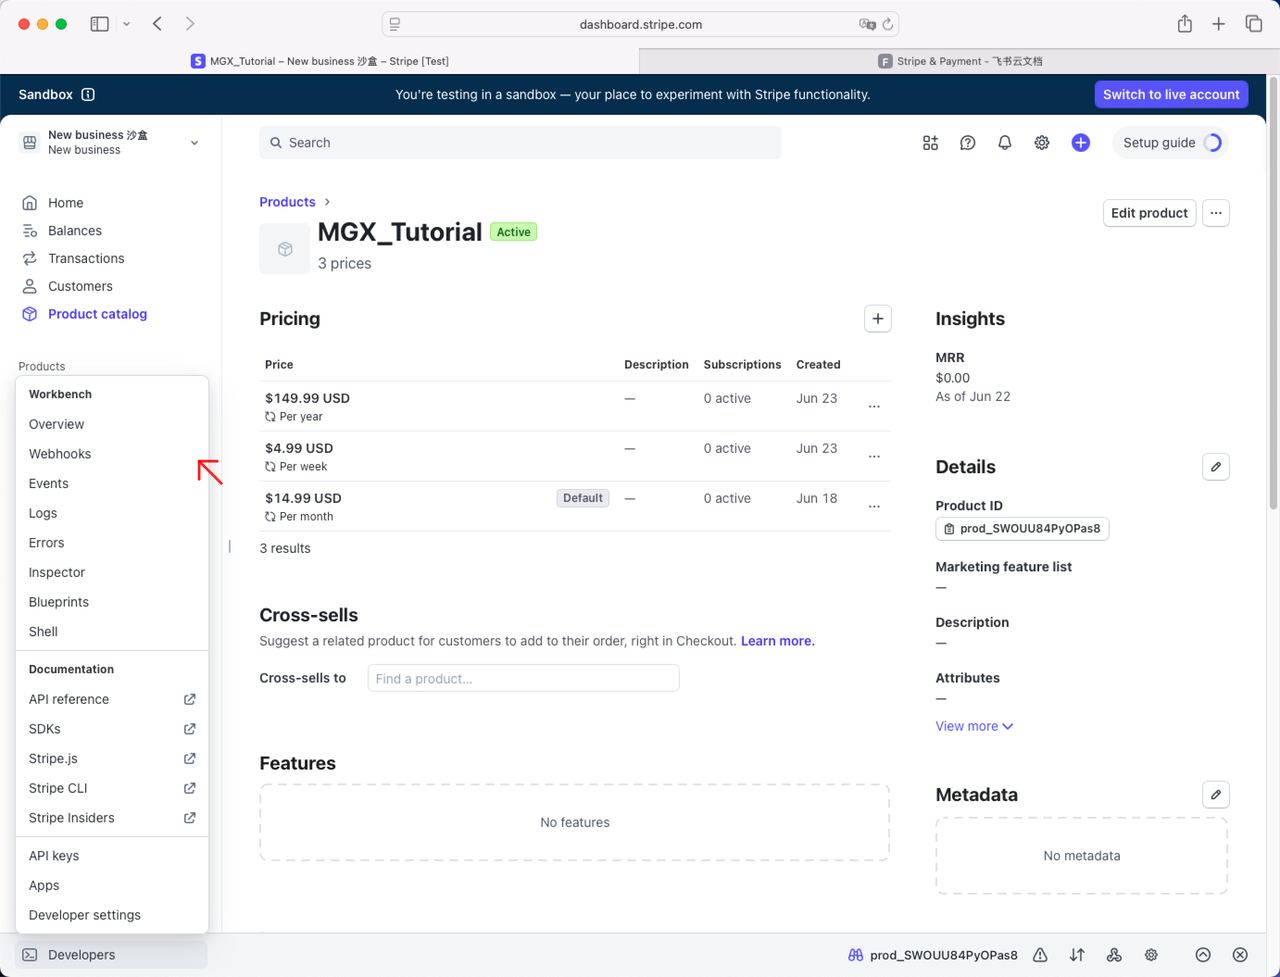
Navigate to Product Catalog > Products, Obtain the price ID using either of the following methods:
In the "Pricing" list, click the “More” button to the right of the corresponding price, then click "Copy Price ID". 
Directly click the price name to open the detail page, then copy the price ID shown in the top-right corner. 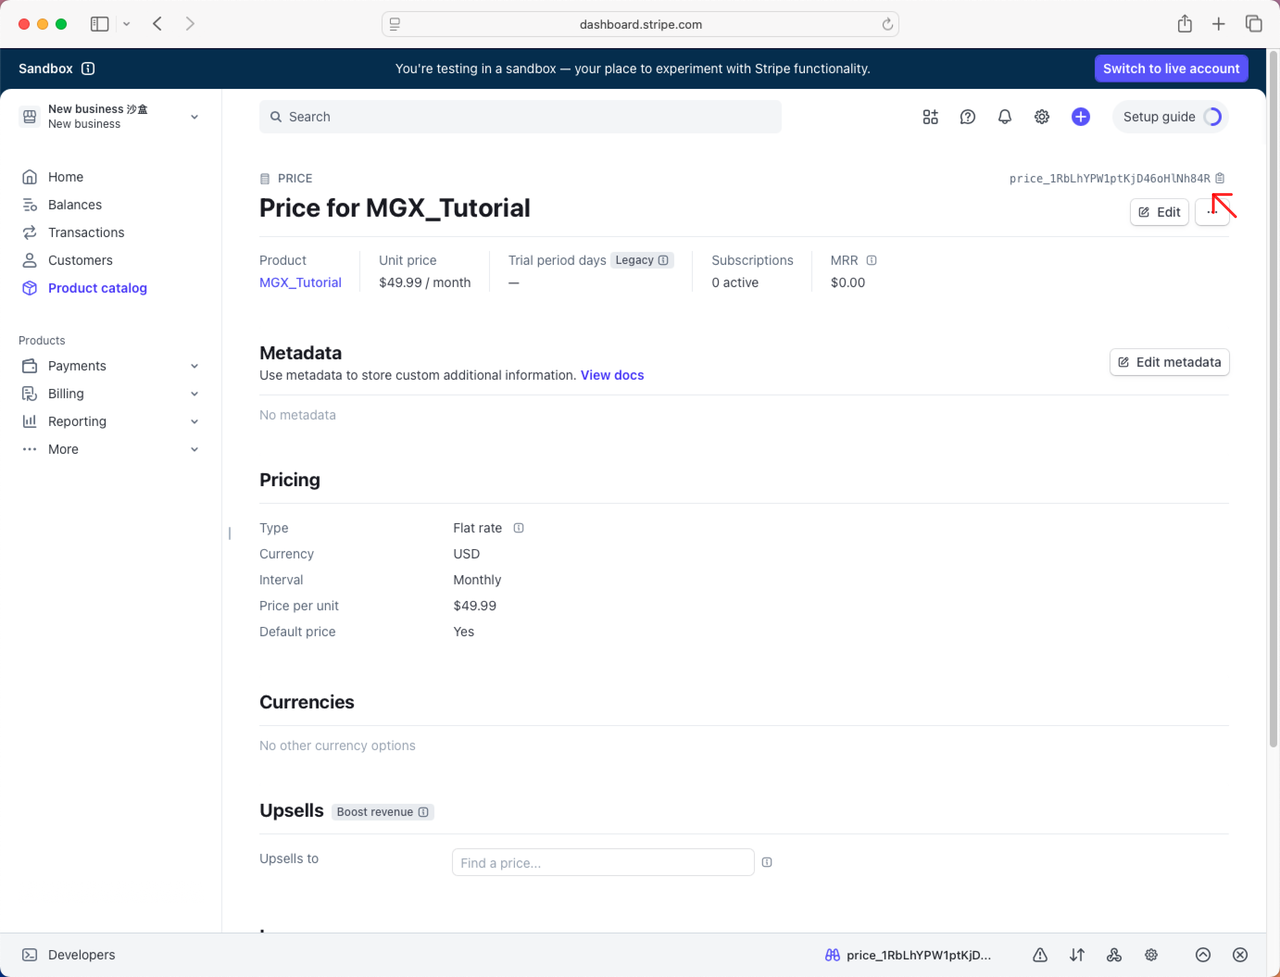
Finally, accurately paste each price ID into the corresponding input field.
Note: For privacy and security, never paste your secret key directly into the MGX chat. Exposure may allow unauthorized access to your Stripe account. Use MGX's "Add API Key" button to store it securely instead.
Add Stripe Webhook Secret KeyButton
In Stripe, click “Developers” in the lower-left corner, then select the Webhooks option.
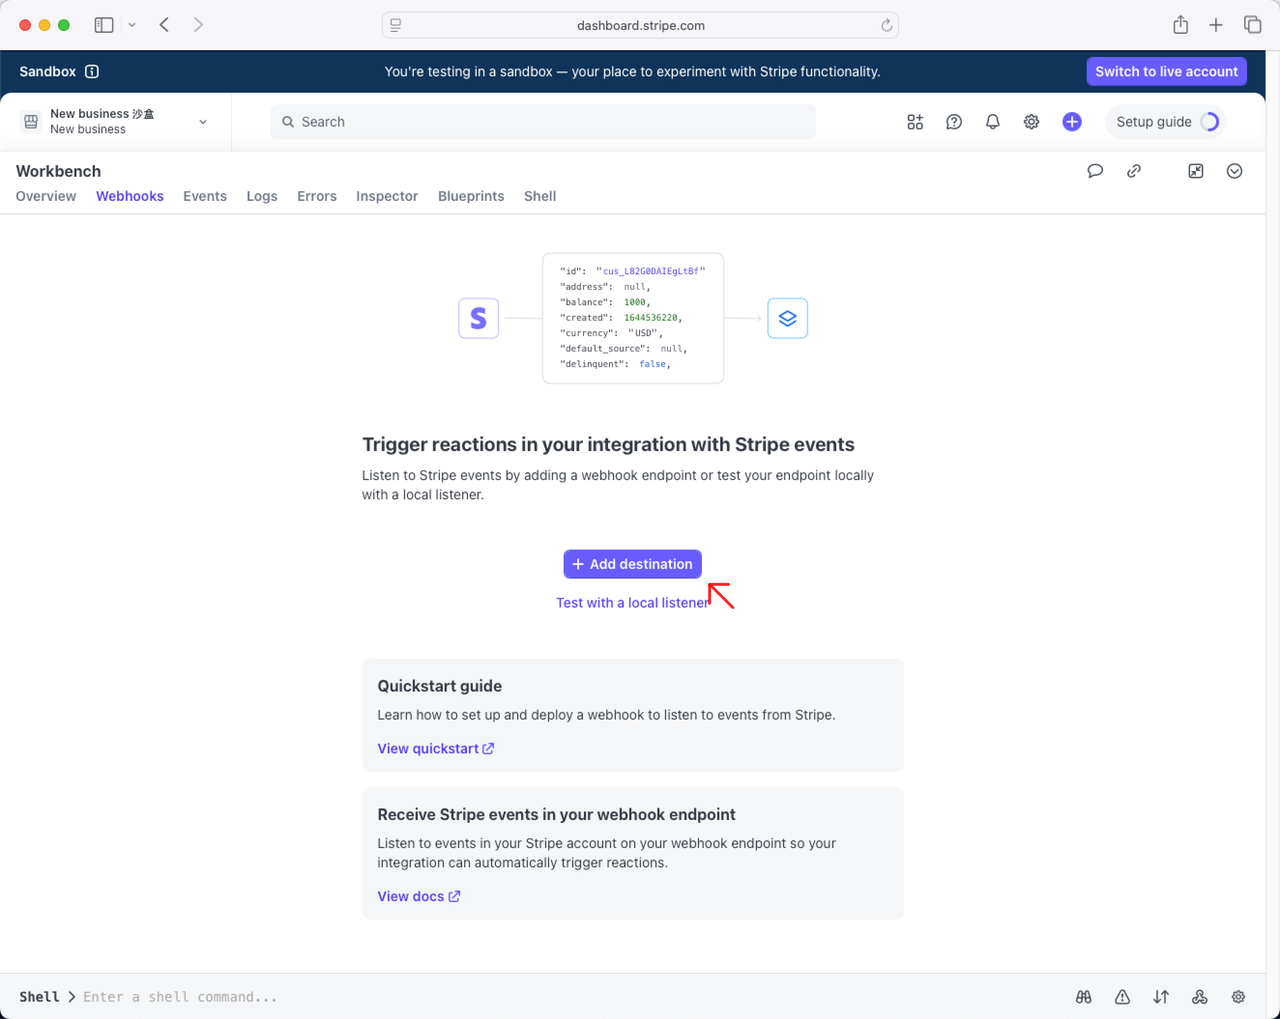
On the Webhooks page, click the "Add destination" button.
Select the webhook events that match your project needs:
checkout.session.async_payment_failed
checkout.session.async_payment_succeeded
checkout.session.completed
checkout.session.expired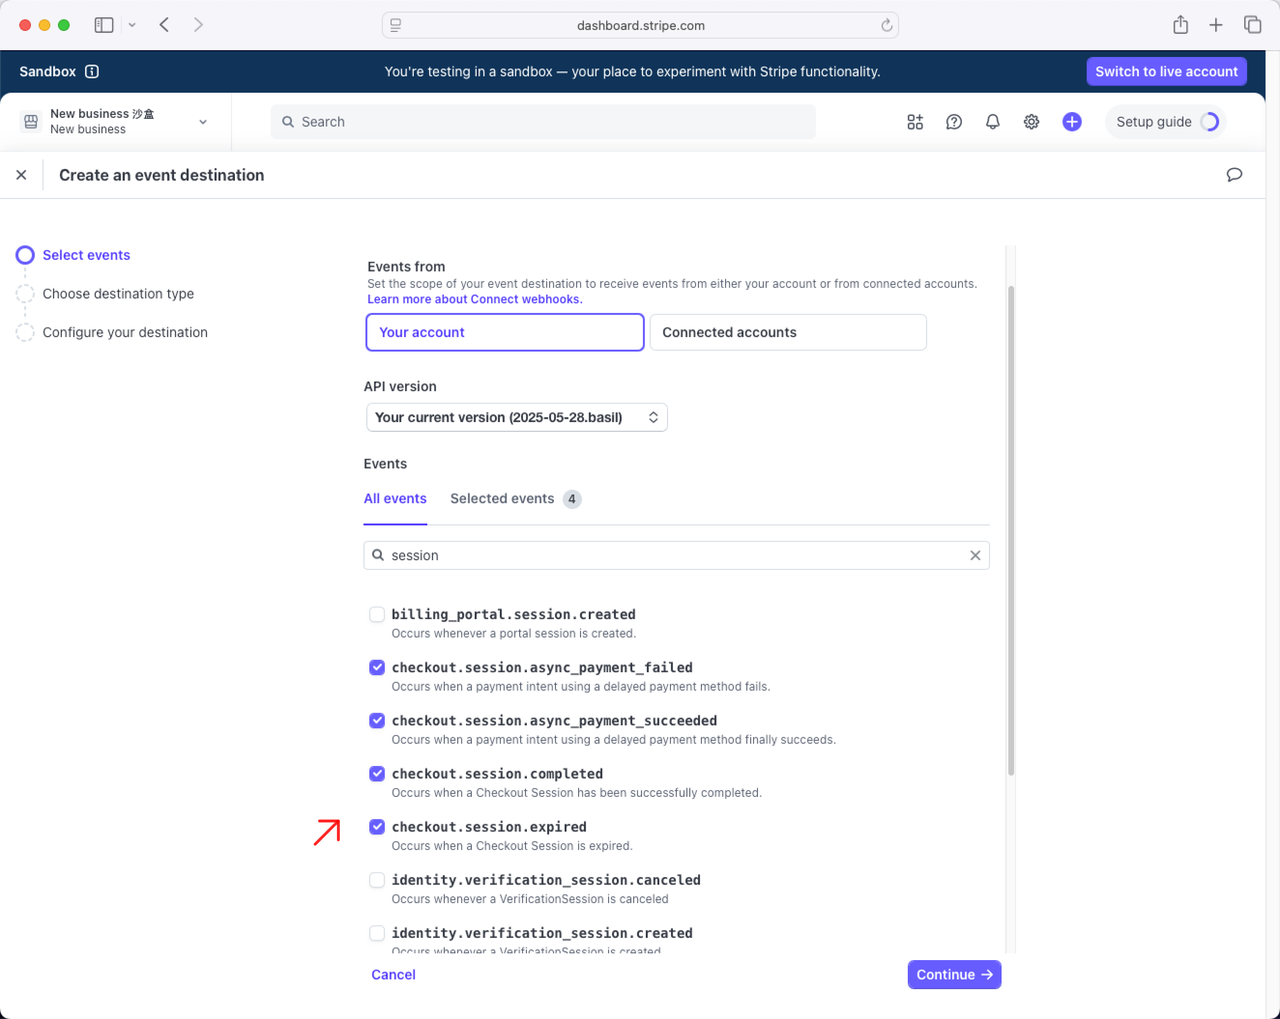
After clicking “Continue”, select “Webhook endpoint.” 
Enter the endpoint URL from Supabase 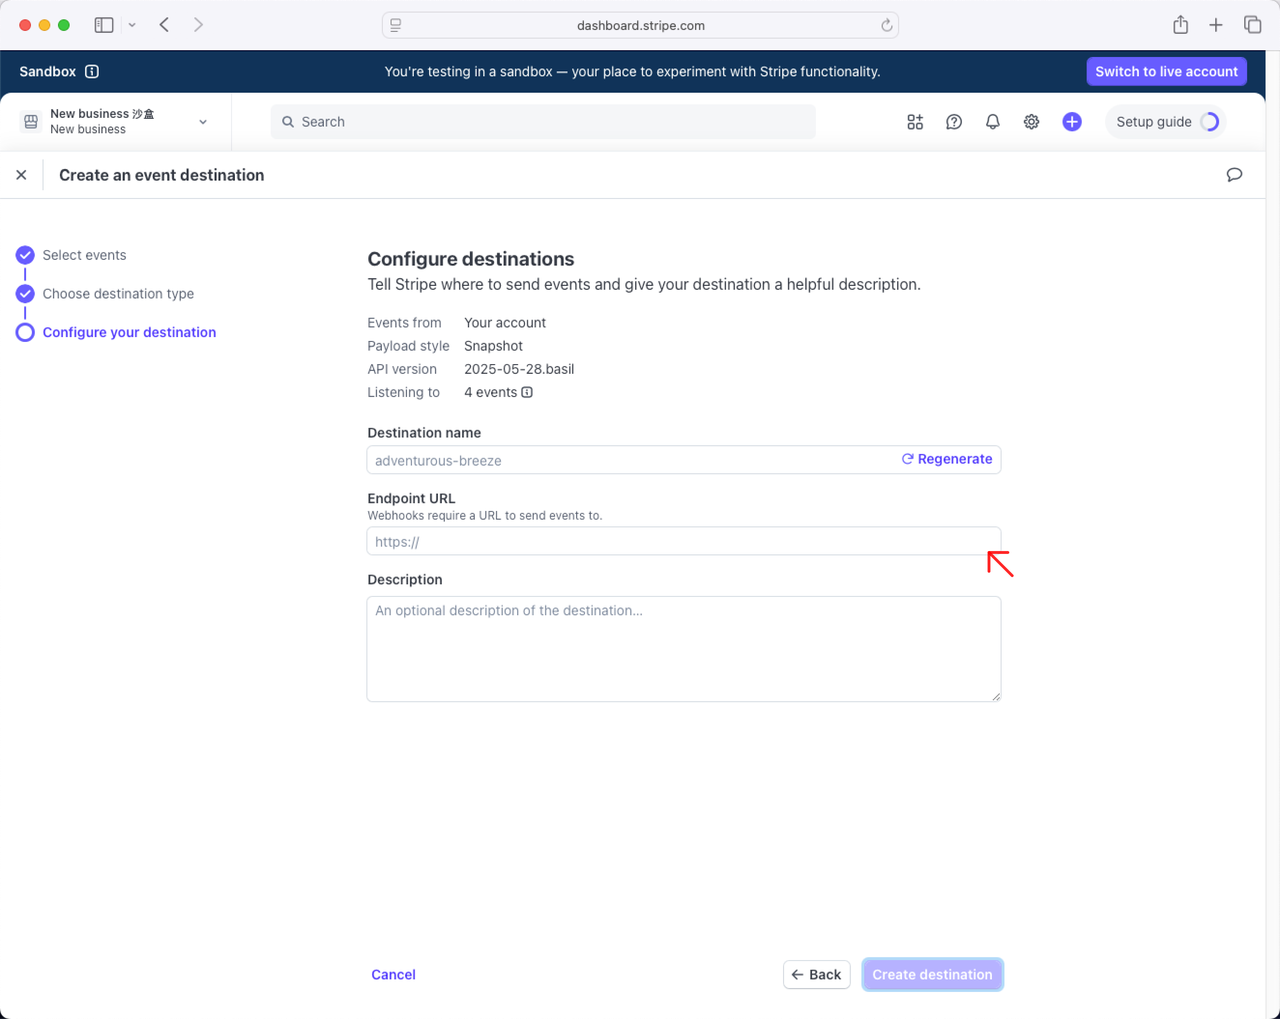
Click View Edge Functionin MGX. 
Click to select the edge function with the corresponding _webhook suffix. 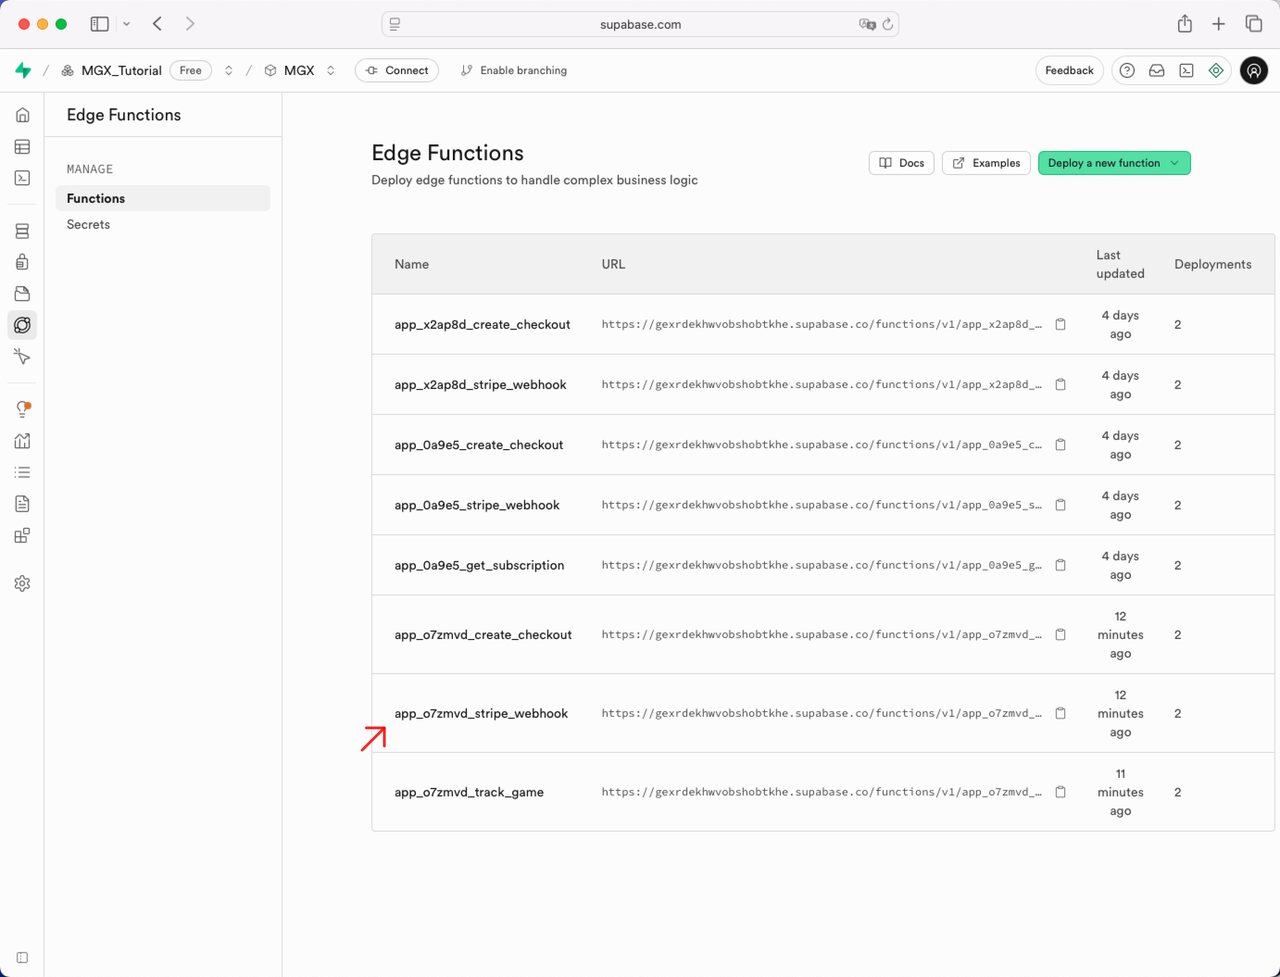
In the Details panel of the corresponding edge function, copy the Endpoint URL and paste it into the Stripe Event Destination. 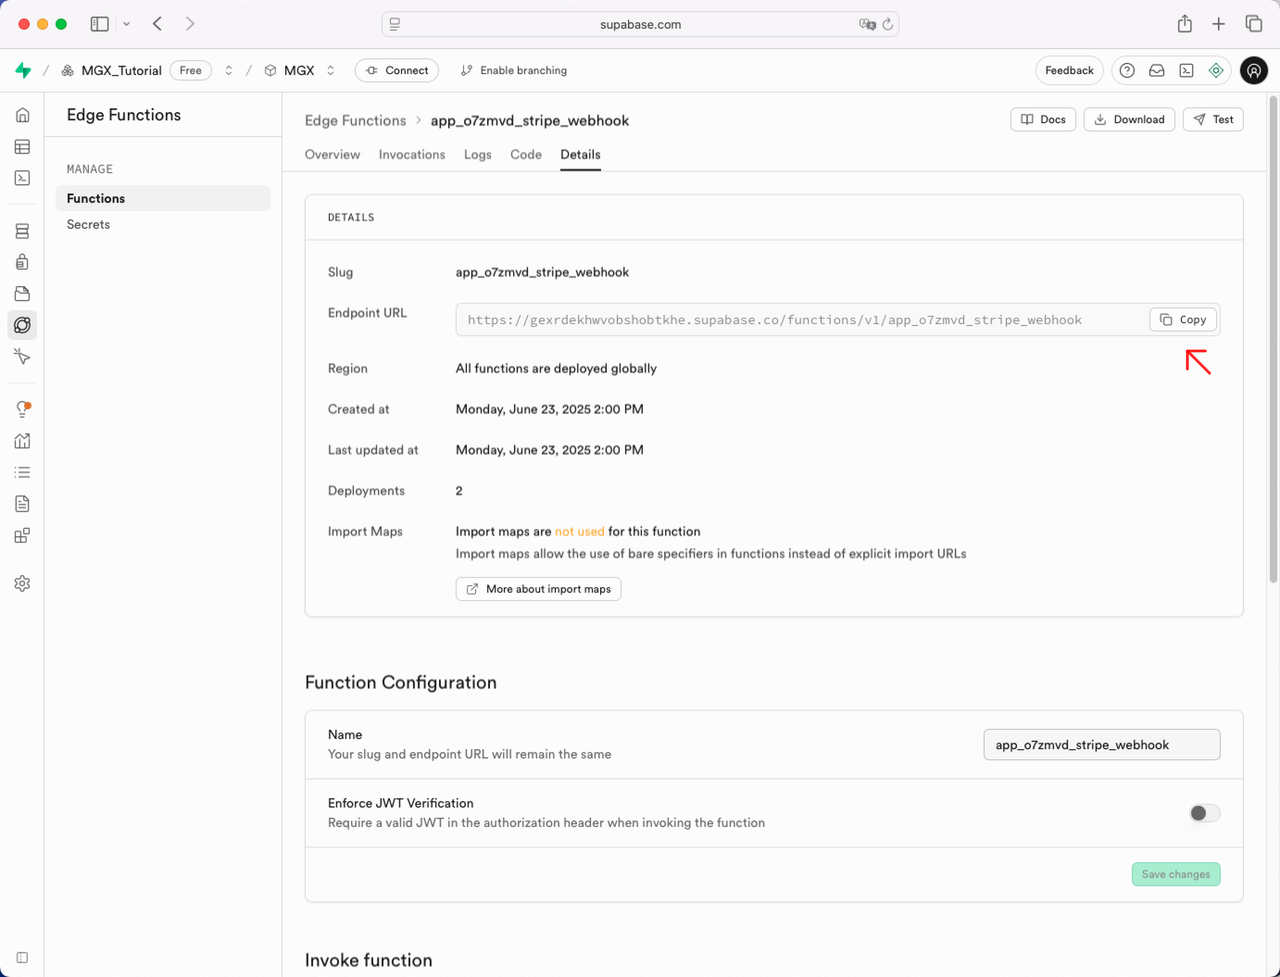
Use Stripe's Test Mode to test payments.
Test card details:
Card number: 4242 4242 4242 4242
Any future expiration date
Any 3-digit CVC